When looking through my blog it occurred to me that I never showed any of the Laundry Room renovation that we did starting the summer of 2013! I can't believe it- shame on me.
When we first moved in there was a top-loading washer and dryer set left for us in the laundry room. When they died we bought high efficiency front-loaders. As you can see in the BEFORE pictures, that left us with a little conundrum as the front loading dryer door was not able to open all the way due to the most awkwardly placed (and quite useless) sink. So for several years we put up with the small opening portal to our dryer.
 |
| Stupid shower! |
We also hated the fact that there was a shower that never got used in the room. Why??? There aren't any bedrooms on the first floor, and unless you worked a job that you felt you needed to take a shower the second you walked through the door, there was no use for it. So we had better plans for that space.
And to top that off, the shelves above the machines were helpful, as they housed lots of things (cleaning products, etc), but they were unsightly and messy.
 |
| Where the sink was |
 |
| Our hallway outside of the laundry room. CHAOS! |
So, we knew we needed to make a change. And so I started on the hunt for nice tiling to be used in the room, and in the summer of 2013 I was ready to start the project.
 |
| The shower was in the left hand corner |
Took out the shower, the wall that divided the shower from the machines, the stupid tiny sink, and then we tiled the floor. We hired a plumber to close off the plumbing to the sink and move all that plumbing over to where the shower was (which now has a big laundry sink). Then we patched up the walls where the sink was and the shower as well as the ceiling where the shower wall connected. We had to texturize those areas and then painted it all.
 |
| The shower was in the left hand corner |
 |
| The tile flooring! |
 |
| What the bottom cabinet doors looked like before |
Next, we moved the washer and dryer back in. I measured the area that was to the left of the machines and built a cabinet out of birch veneered 3/4 inch plywood. Eric painted the insides of the home-made cabinet and the insides of the pre-bought cabinets that hang above the sink. We first started painting these cabinets a firey orange, which would have worked out okay, but it was latex and peeled off (STUPID US!) So we bought this nice powder colored blue spray paint that sticks super well. We bought the cabinets from the Habitat Restore. We used the uppers as-is and the bottom cabinets we only used the doors. Those doors used to be much bigger so we table-sawed them down to fit as they do. I think they look SO nice.
 |
| Cabinet install |
Once the bottom cabinet was finished we put the doors on. I thought it would be great if we used some of the legs I had sitting around from a previous restoration project so I cut all 4 down to make sure the cabinet was at the same height as the washer and dryer. Once that was done I checked with Pinterest for an idea on how to make a countertop. I first thought a butcher-block top would be great, but then I saw that you can use wood planked flooring. So I cut and glued wood flooring to a thin sheet of plywood, then I stained the wood, and then caulked between the planks. Once that was done a painter that we met at Menards told us about a product called Ceramathane, which is kind of like shellac and kind of like polyurithane. We picked up a medium sized can of that and put one several layers over the caulk. Then I bought the sink at the Restore and we cut the hole for the sink, and plumbed it in. All along I had been making a taller shelving unit that I ended up attaching to the countertop so we can put our laundry baskets there. Lastly, we put up a dowel between the upper cabinets and the shelving unit, so we can hang items that need to be ironed. Oh, and somewhere in there we bought, stained and installed new trim around the flooring/walls.
 |
| FINISHED PRODUCT! |
 |
| FINISHED PRODUCT |
In the end, I'm SO impressed with our work. I'd never built a cabinet before, nor had I tiled, or even patched large chunks of dry wall! But we did it, and I have no regrets. This project has given me so much inspiration and confidence to move on to any room I choose and make a big positive change. I'm not planning on moving fast, but I feel good about whatever might be ahead of me!
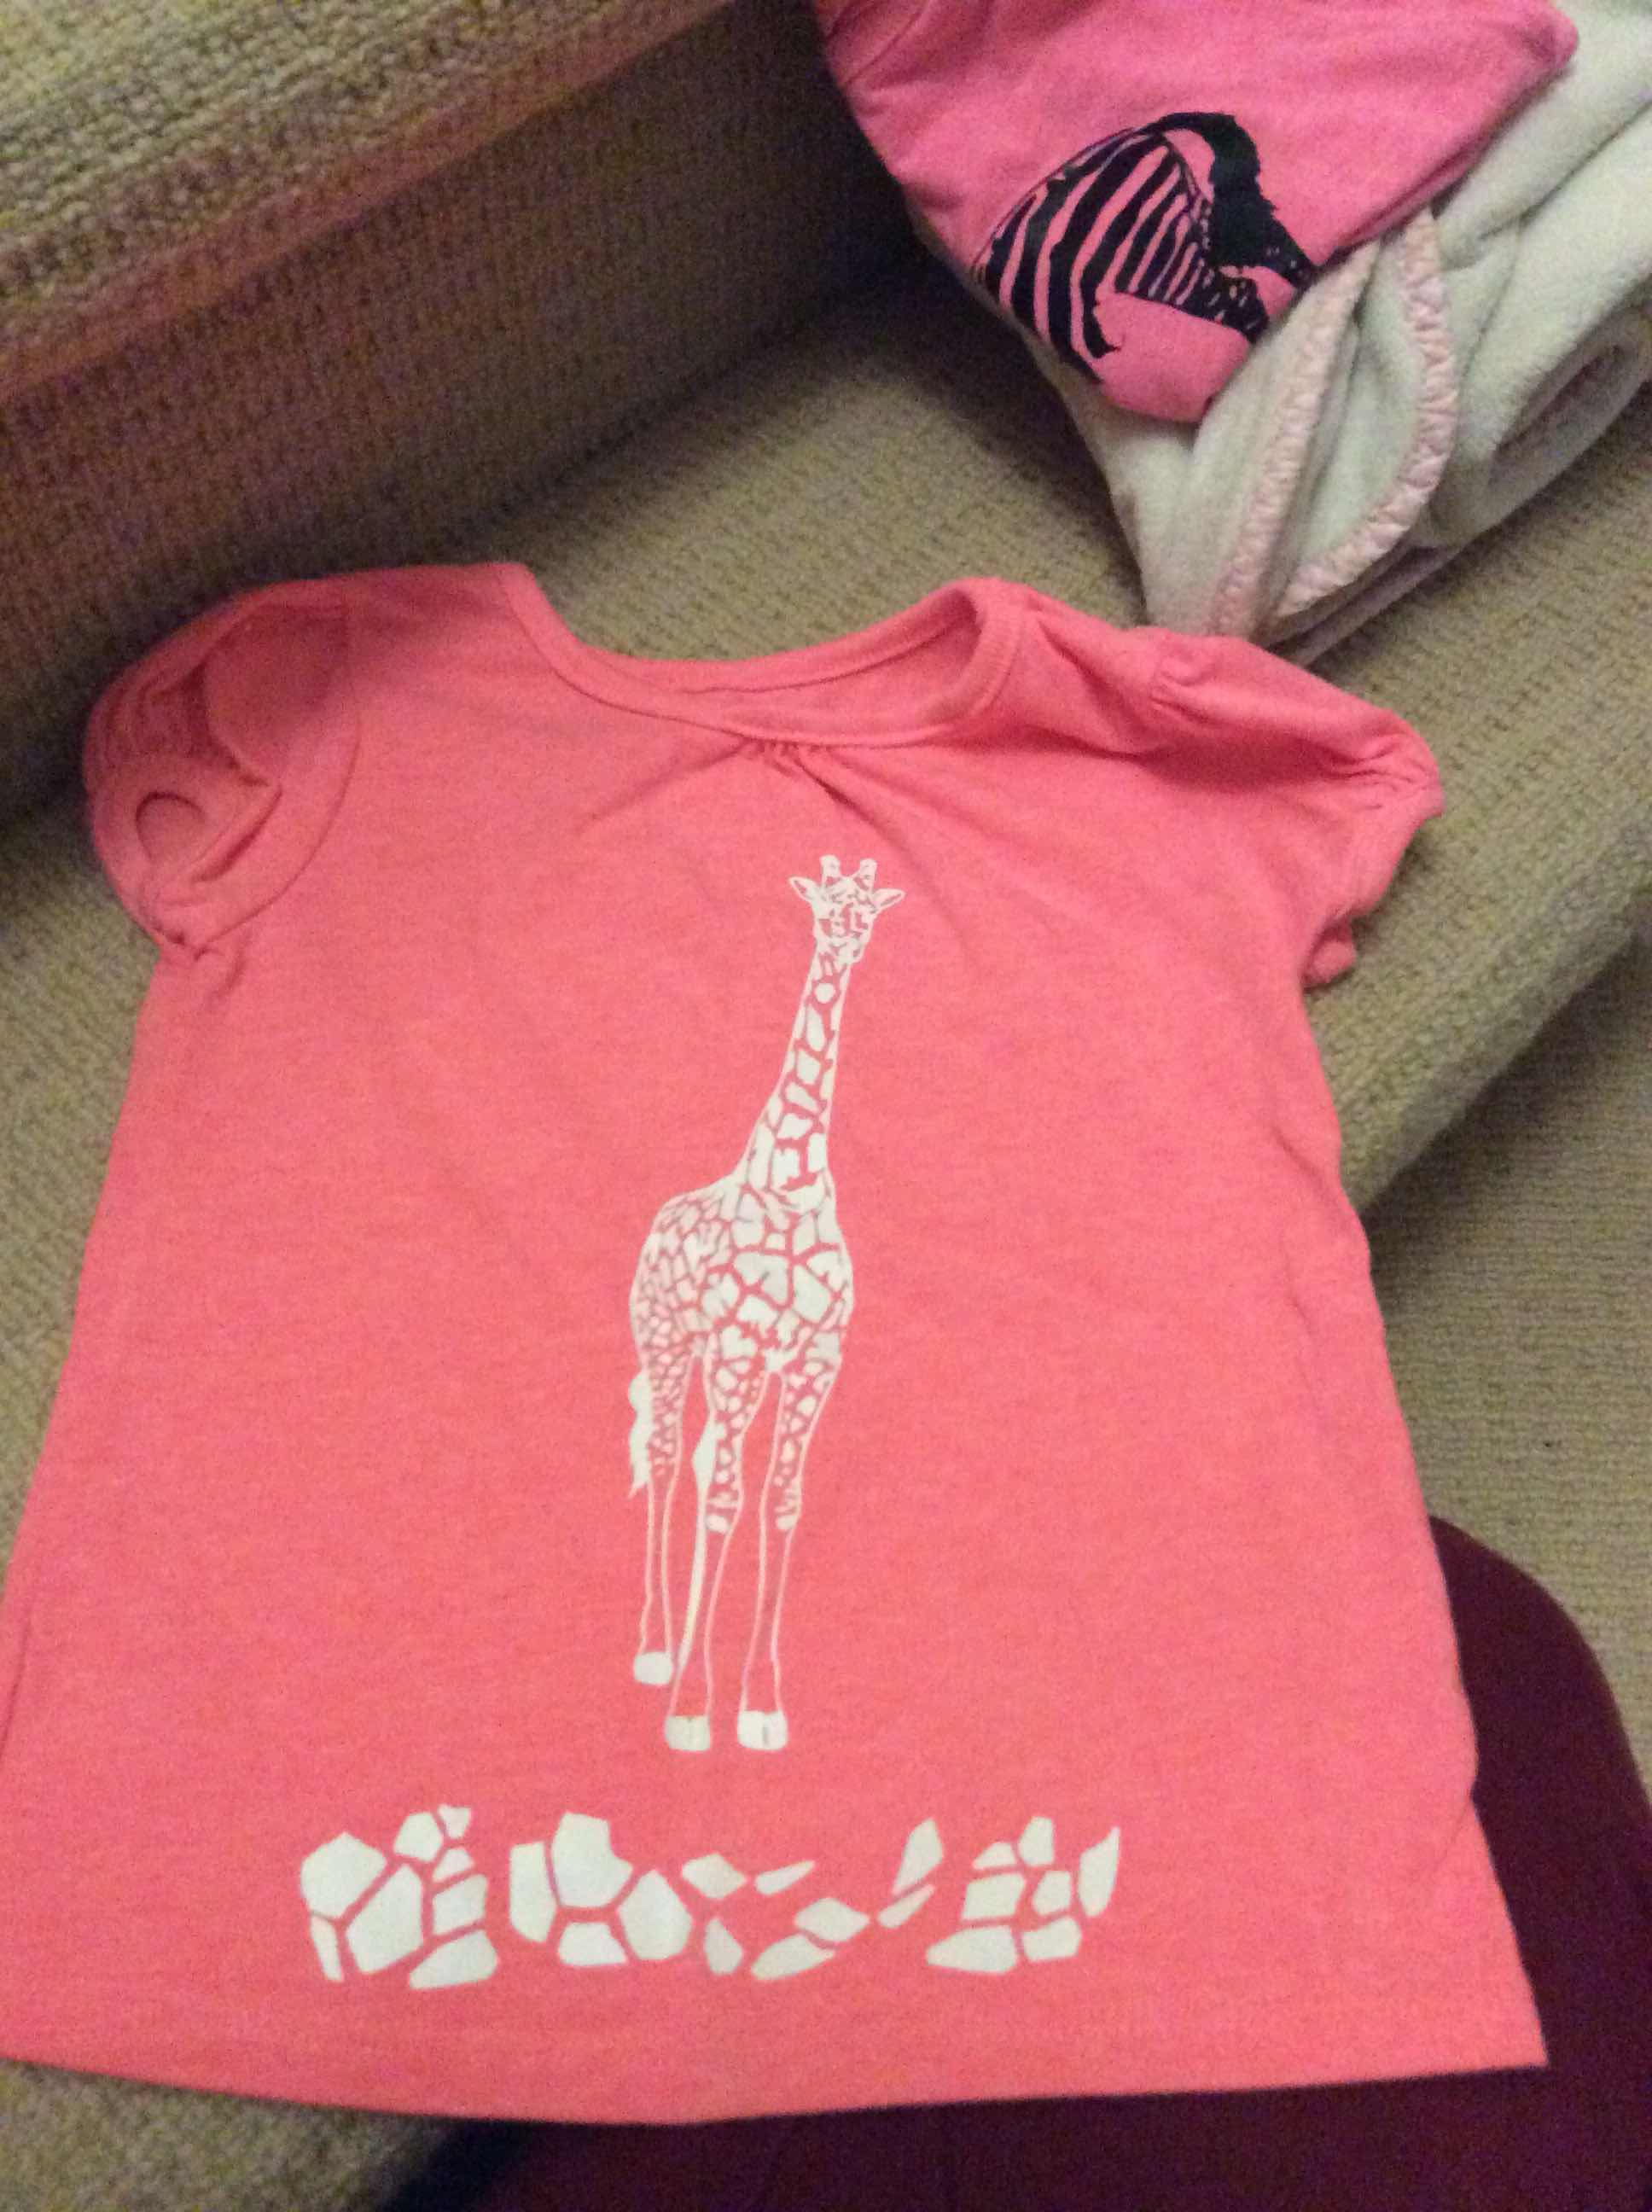
 I’m having so much fun with my cricut that I think I will never buy anything other than plain shirts for Etta so I can design them! I showed how I got the galloping horse in a past post, but here is the shirt in action!